
Here is how a dental lab takes an implant case from scan to seated crown, and where each stage needs attention.
Table of contents [Show]
- What is a customized implant crown?
- Why customized implant crowns matter
- The customized implant crown process at a glance
- Stage 1: Case intake and the data the lab needs
- Stage 2: Design the emergence profile, crown, and screw channel
- Stage 3: Material selection and manufacturing
- Stage 4: Bonding, glazing, and finishing
- Stage 5: Quality control and delivery
- Applying the implant crown lab process
- XDENT LAB - Vietnam Dental Lab
- Conclusion
- References
This article explains how customized implant crowns are made in the dental lab, from case intake and design to material and manufacturing, bonding and finishing, and quality control. XDENT LAB is a full-service dental laboratory that manufactures customized implant crowns for dental practices and dental labs in the US, and this guide shows what a well-run process looks like.
What is a customized implant crown?
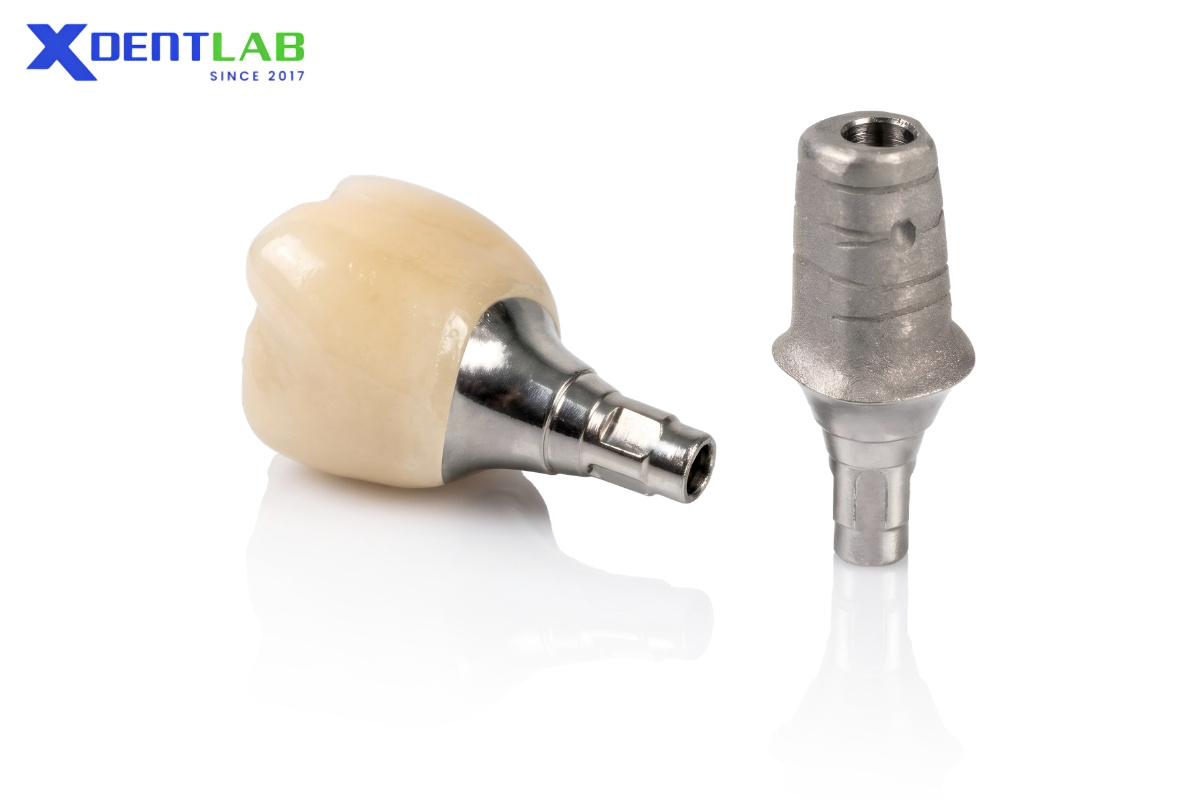
A customized implant crown is a restoration designed and manufactured for one specific implant from the patient's own scan data, rather than chosen from a stock shape. It matters because the emergence profile, screw channel position, contacts, and occlusion all have to fit that case, and each one affects how the restoration performs in function.
Why customized implant crowns matter
Customization gives the lab control over the details that decide how a restoration behaves in the mouth:
- Soft tissue support: The emergence profile is shaped from the titanium base to the gingiva so it supports the tissue without compressing it, and it respects the gingival height of the chosen base.
- Screw channel position: The channel can be placed so the access hole does not weaken a cusp or marginal ridge. Where the component allows an angulated channel, an anterior case can move the hole off the buccal surface.
- Contacts and occlusion: These are designed against the patient's own opposing arch and bite. In the 106-crown series discussed later, occlusal contacts had the lowest delivery score, which shows why this is the detail to control (Lerner et al., BMC Oral Health 2020).
- Traceability: Design files, library versions, and component details stay with the case, so a lab can reproduce the fit if the restoration ever returns for adjustment.
The customized implant crown process at a glance
Making a customized implant crown follows five stages, each covered in detail below:
- Case intake: confirm the components and the scan data.
- Design: match the library, then shape the emergence profile, crown, and screw channel.
- Material and manufacturing: mill, sinter, and fit-check.
- Bonding and finishing: join the crown to the titanium base, glaze, and polish.
- Quality control and delivery: inspect, document, and ship.
Stage 1: Case intake and the data the lab needs
A reliable implant crown starts with a complete, verifiable case file. Missing or mismatched component information stops a case before design begins, so intake works best as a formal checkpoint rather than an informal glance.
At a minimum, the lab needs:
- The implant system, platform, and connection type
- The exact titanium base, including its gingival height
- The scan body used in the mouth, with a scan in which it is fully seated
- A soft tissue record around the scan body (if the model was scanned without gingiva, a separate gingiva scan)
- The opposing arch and a bite registration for occlusion
- A prescription that states the material, whether the restoration is screw-retained or cement-retained, shade, and due date
The scan body must be fully seated and completely captured, and the manufacturer's library must match it with no visible offset. A poor match shifts the implant position for every step that follows. Technicians should confirm seating and library match on the scan before accepting the file, and ask the practice to rescan when either is in doubt.
Stage 2: Design the emergence profile, crown, and screw channel
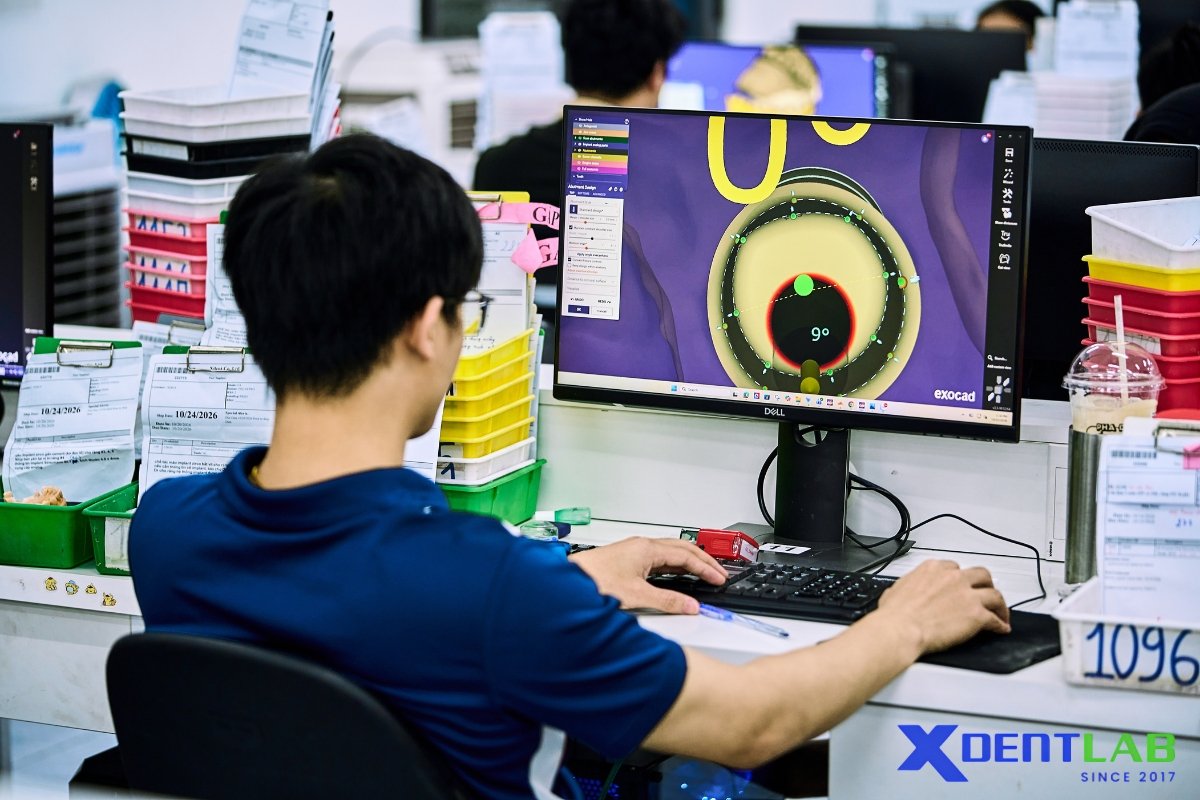
Design order matters because each decision constrains the next. A common sequence in CAD software such as Exocad is:
- Match the library to the scan: Confirm that the component library sits on the scanned scan body before anything else is shaped.
- Shape the emergence profile: Build the profile from the titanium base up to the gingiva first. It should support the soft tissue without compressing it, and it has to respect the gingival height of the chosen base.
- Build the crown form: Add contacts and occlusion while keeping the screw channel in view, so the access hole does not weaken a cusp or a marginal ridge.
- Set the screw channel: Angulated channels are only possible when the library allows them for that component, and the base manufacturer sets the maximum angle. In anterior cases a permitted angle can move the access hole off the buccal surface.
- Check wall thickness: Verify the ceramic thickness around the screw channel and at the titanium connection against the base manufacturer's instructions before the file is released.
When a titanium base is positioned by hand, the software switches to manual positioning and the channel is set manually.
Keep the design file, library version, and component details with the case record. If a restoration comes back for adjustment months later, those records are what let a lab reproduce the fit rather than guess at it.
Stage 3: Material selection and manufacturing
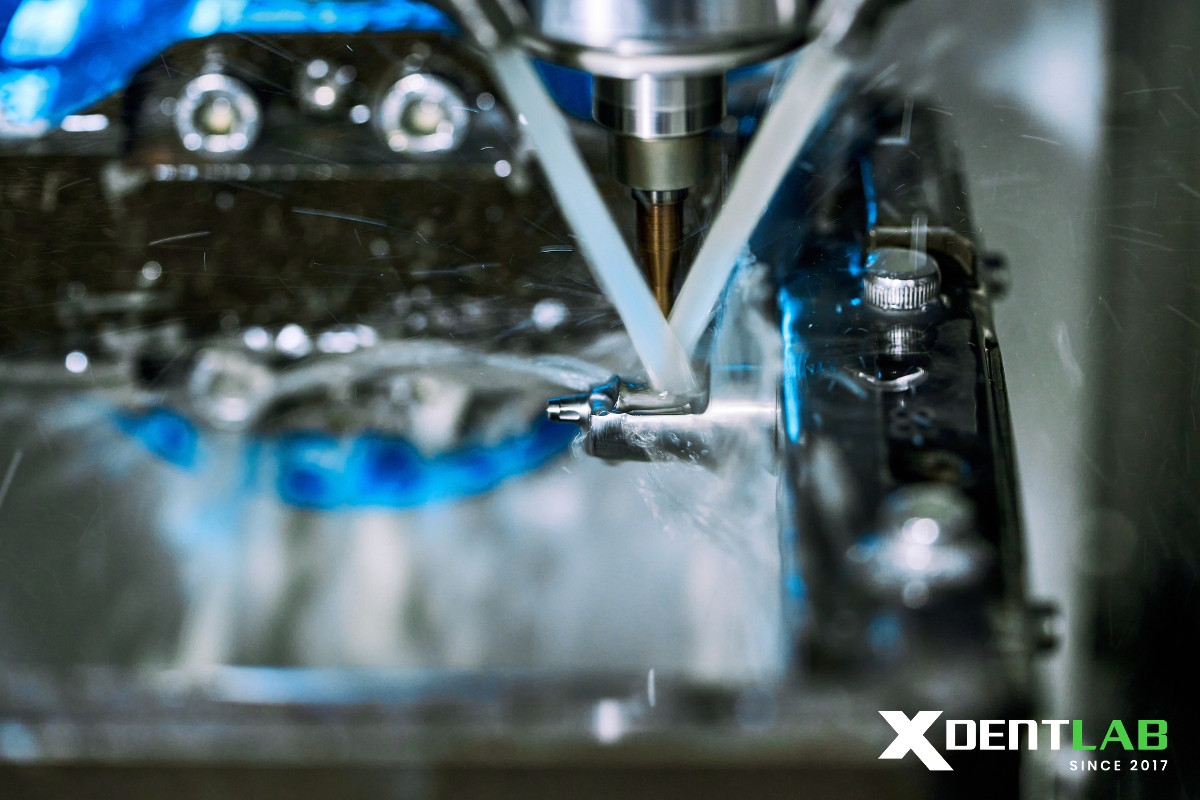
Material choice follows the prescription, the restorative space, and the titanium base manufacturer's rules for ceramic thickness. Published workflows show how much the options differ. One retrospective series used monolithic zirconia crowns bonded to titanium bases, with 4 mm straight, 6 mm straight, and 6 mm angled (15 degree) bases depending on the site. A 3Shape case report used a direct-access lithium disilicate crown on a zirconia abutment with a titanium interface. Because material changes both the design and the finishing steps, confirm it with the practice at intake instead of assuming a default.
Manufacturing follows a short, strict sequence:
- Export the crown with the titanium base interface exactly as the component library produces it.
- Send it to the mill with the correct material selected. For multilayer zirconia, position the restoration in the disc deliberately, since placement affects the result.
- Sinter according to the zirconia manufacturer's protocol, without improvising the cycle.
- Try the sintered crown on the titanium base and on the model before any staining or glazing, so a fit problem is found while it can still be corrected.
This early fit check is the cheapest quality gate in the process. A crown that does not seat cleanly on the base will not be fixed by finishing.
Stage 4: Bonding, glazing, and finishing
When the crown and titanium base are separate components, the bond between them is a lab-controlled joint that deserves its own written protocol. In the retrospective series cited above, six prosthetic complications occurred across 106 crowns, and two of them were debonding of the zirconia abutment from the titanium base. The authors note limits, including a single center, a retrospective design, and one implant system, so treat the figure as a reason for process discipline rather than a benchmark.
A manufacturer protocol for cementing a zirconia crown to a titanium base runs as follows (DESS clinical case instructions):
- Clean the fitting surface of the crown and the titanium base with alcohol or acetone to remove oils and contaminants.
- Check fit and seating, then mark the final seating position across the crown and base with an indelible marker.
- Apply a zirconia primer and/or bonding agent to the fitting surface of the crown.
- If the base is not pre-sandblasted, perform airborne-particle abrasion, protecting the areas that contact tissue or the implant.
- Apply resin cement, mixed to the manufacturer's proportions, to the treated base surface with an applicator tip so it stays out of the screw channel. Alternatively, block the channel with Teflon or wax and apply cement to the crown.
- Seat with gentle pressure and no rocking, then cure as the cement manufacturer specifies.
- Remove excess cement at the margins, and polish the cervical area after glazing.
Primers, abrasion parameters, and cements differ between brands, so the instructions for the specific components in the case take priority over any generic sequence.
Stage 5: Quality control and delivery
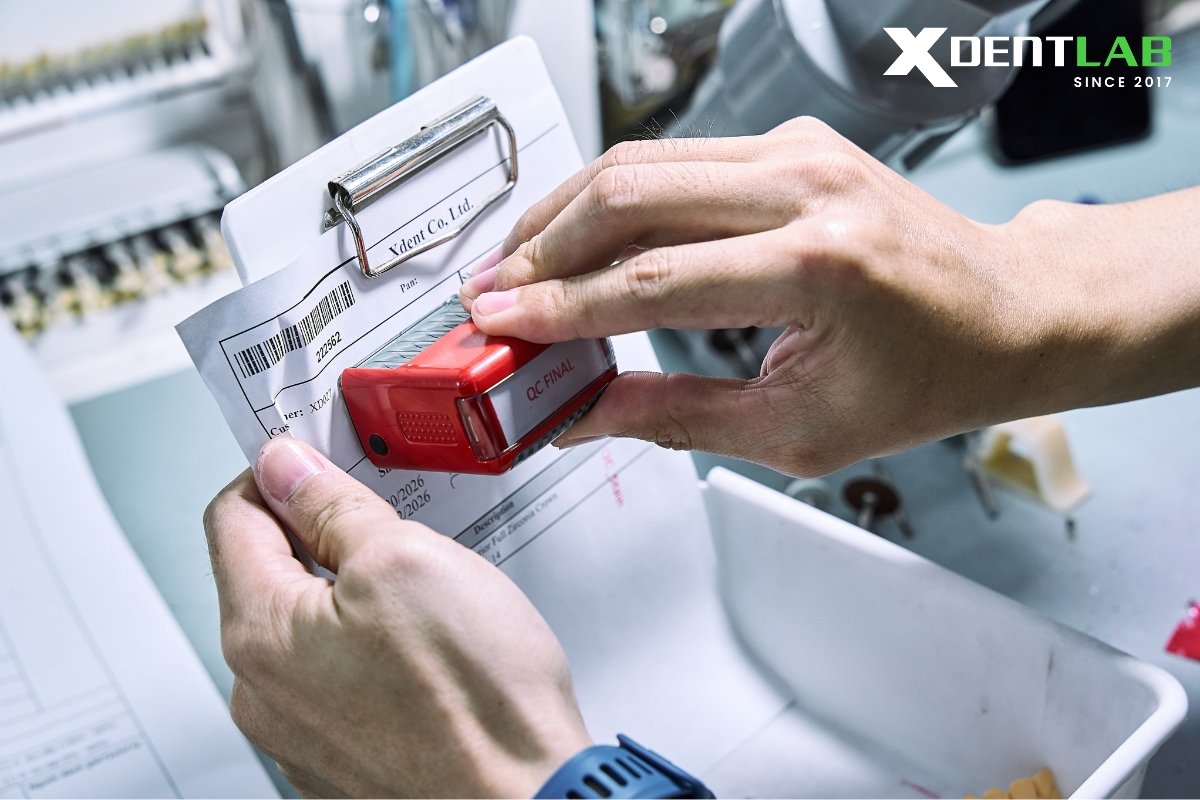
Final inspection is where a lab confirms the restoration will perform, not only that it fits, and occlusion deserves the closest look. In the 106-crown series, delivery scores on a 1 to 5 scale were lowest for occlusal contacts (mean 3.89, against 4.41 for marginal adaptation and 4.46 for interproximal contacts), and 6 crowns (5.6%) had precontacts or infraocclusion.
A practical release checklist covers:
- Seating: The crown seats passively on the implant analog on the model, with no rocking.
- Contacts and occlusion: Both are checked on a printed master model, as in the 3Shape case.
- Emergence profile: The cervical area matches the design and is smooth and polished.
- Screw channel: It is clean and free of cement.
- Components: The crown, titanium base, and screw match the case record.
- Documentation: The shipment lists components, library version, and the implant manufacturer's torque value for the clinician.
Torque values differ between implant systems, so the lab should state the manufacturer's specified value rather than a general number. In the 3Shape case, delivery also included sealing the screw access and a final periapical radiograph. That closing step belongs to the clinician, but the lab's documentation makes it easier.
For Lab owners
- Turn the intake list in Stage 1 into a formal checkpoint with a rescan rule.
- Write a bonding SOP for the titanium base joint and train every technician on it.
- Keep library versions, component details, and design files with each case record.
- Track remakes by cause (occlusion, contacts, shade, debonding) so process fixes target the real problem.
For Dental technicians
- Verify scan body seating and library match before designing anything.
- Check ceramic wall thickness around the screw channel against the base instructions.
- Fit-check the sintered crown before glazing, then document the bonding step.
XDENT LAB - Vietnam Dental Lab
XDENT LAB is a full-service dental laboratory that works with dental practices and lab owners in the US market. Customized implant crowns are one of the restorations we produce, designed case by case from the scan data and components each practice sends.
We offer 2 product lines: Screw-Retained and Cement-Retained Implant Crowns
- Turnaround time of up to 5 days in lab
- Customized Abutment included
- Analog included
- Flexible material options for crown: PFM, Emax®, Multilayer Full Zirconia, Layered Zirconia, Cutback Zirconia
We accept a wide range of popular implant systems, including Straumann, Nobel Biocare, Osstem, Neo Biotech, Dentium, Zimmer, Implant Direct, and many others, giving our partners greater flexibility in every case.
We are happy to talk through component choices, material, and retention type before design starts, so the case file is complete from the first day. Practices and labs can decide at their own pace whether our workflow suits their cases.
Conclusion
A dependable implant crown comes from five controlled stages rather than one clever step. Intake, design, manufacturing, bonding, and release inspection each carry decisions that the next stage depends on, and the records you keep let you reproduce a good result.
If your practice or lab is reviewing its implant workflow, the XDENT LAB team is glad to talk through these stages, answer technical questions, or look at a case file with you. There is no obligation, and the right workflow is the one that fits your cases and your clinicians.
References
3Shape. Screw-retained implant crown restoration with digital workflow (clinical case report)
DESS Dental. Zirconia implant crown on a Ti-Base, clinical case instructions
About XDENT LAB:
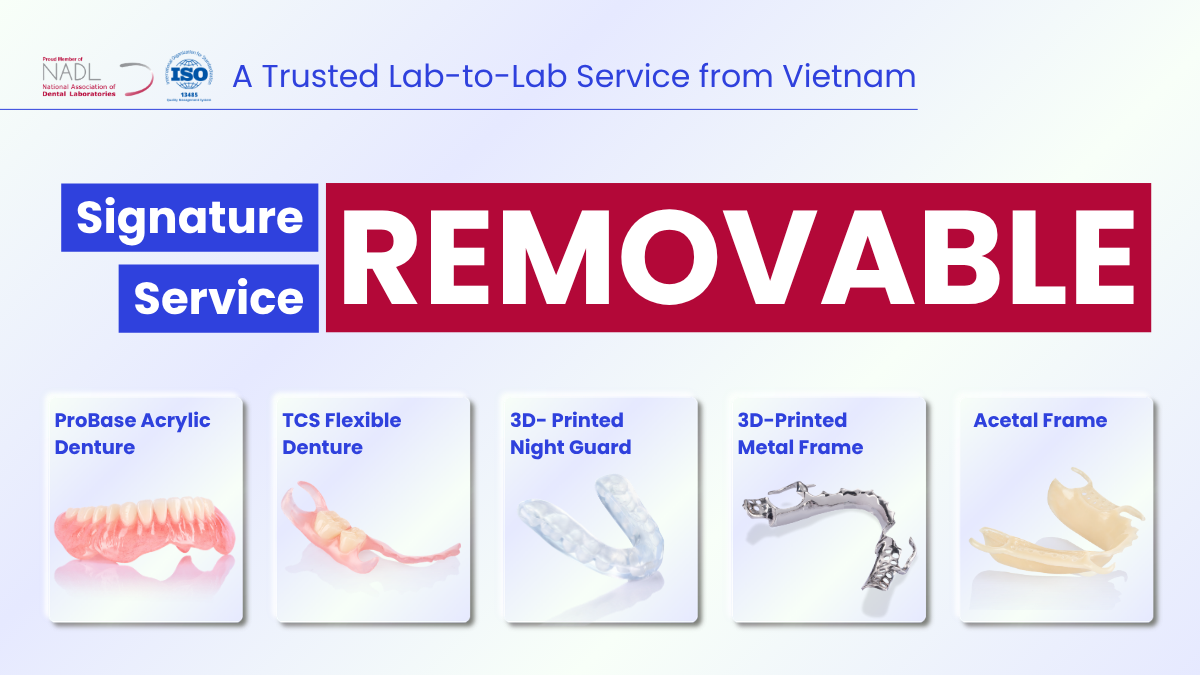
We are experts in Lab-to-Lab Full Service from Vietnam, with the signature services of Removable, meet U.S. market standards, FDA-registered, ISO 13485-certified. Founded in 2017, from local root to global reach, we scale with 2 Factories with over 100+ employees.
Our Commitments Built on “Trusted. Commitment. Quality”
- Commit to Large-Scale Manufacturing, high volume, remake rate < 1%.
- Commit to 5-Year Warranty
- Commit to Competitive Price
XDENT LAB | A Trusted Lab-to-Lab Service from Vietnam
Share this post:
Related Posts
Learn about the VITA Classical shade system, an overview of the 16 VITA shades, and how XDENT LAB and its partners communicate shade technically.
See 5 Acrylic Partial Denture cases (cases 11 to 15) from XDENT LAB, a Vietnamese dental laboratory that is a member of the National Association of Dental Laboratories (NADL). XDENT LAB is an expert i...
Explore how independent dental labs support dentistry through custom restorations, digital workflows, quality control, and material traceability.

