
Understanding and applying the correct Layer Thickness settings not only saves labs time and production cost, but also ensures stable output quality for each specific type of dental product.
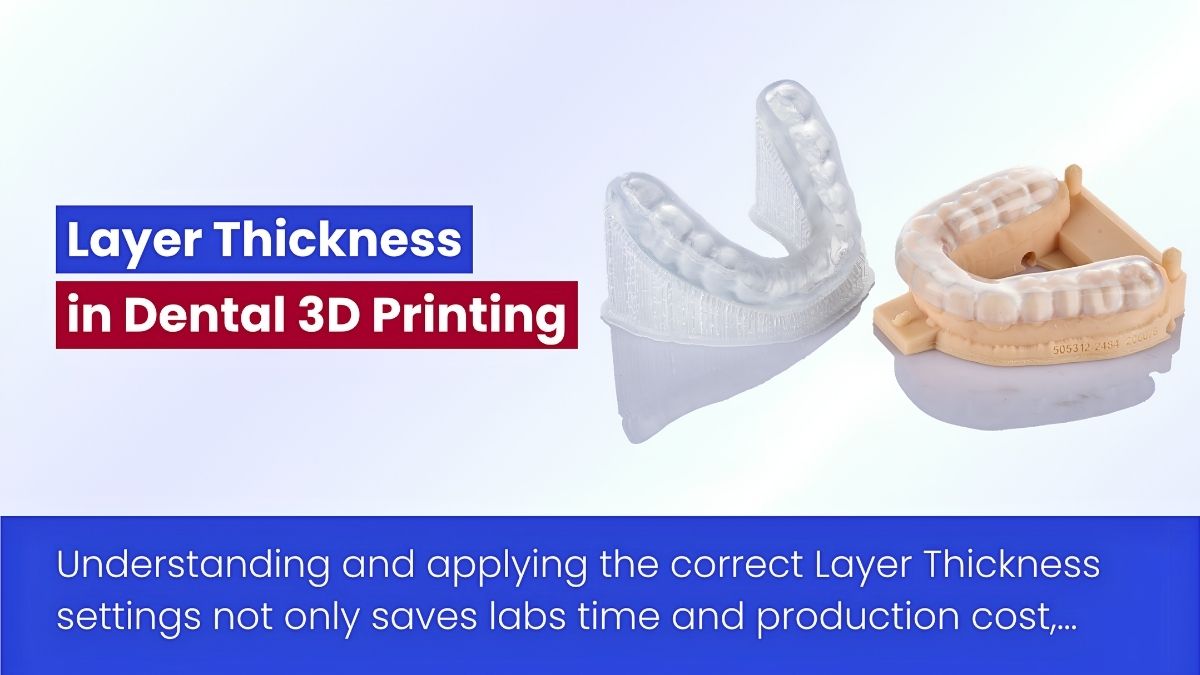
Table of contents [Show]
In dental 3D printing, layer thickness (also called layer height) is one of the most important parameters determining the accuracy, surface smoothness, and production speed of the final product. It refers to the height of each resin layer that the printer stacks on top of another, usually measured in microns (µm), or one thousandth of a millimeter.
So what layer thickness is appropriate for each type of dental product? This article summarizes recommendations from leading resin and equipment manufacturers, helping dental clinics and labs choose optimal printing settings.
How Layer Thickness Affects a 3D Printed Product
The general principle is simple. The thinner the layer, the more detailed and smoother the product, but the longer the print time, since the printer must stack more layers. Conversely, the thicker the layer, the faster the print speed, which suits high volume production, but detail and surface smoothness decrease.
According to a technical overview, standard dental applications typically use a layer thickness of 50 to 100 microns as the optimal balance between detail and production efficiency, while thicker layers around 125 to 150 microns suit fast model production when layer lines are not the key concern.
1. Diagnostic Model (Study Model)
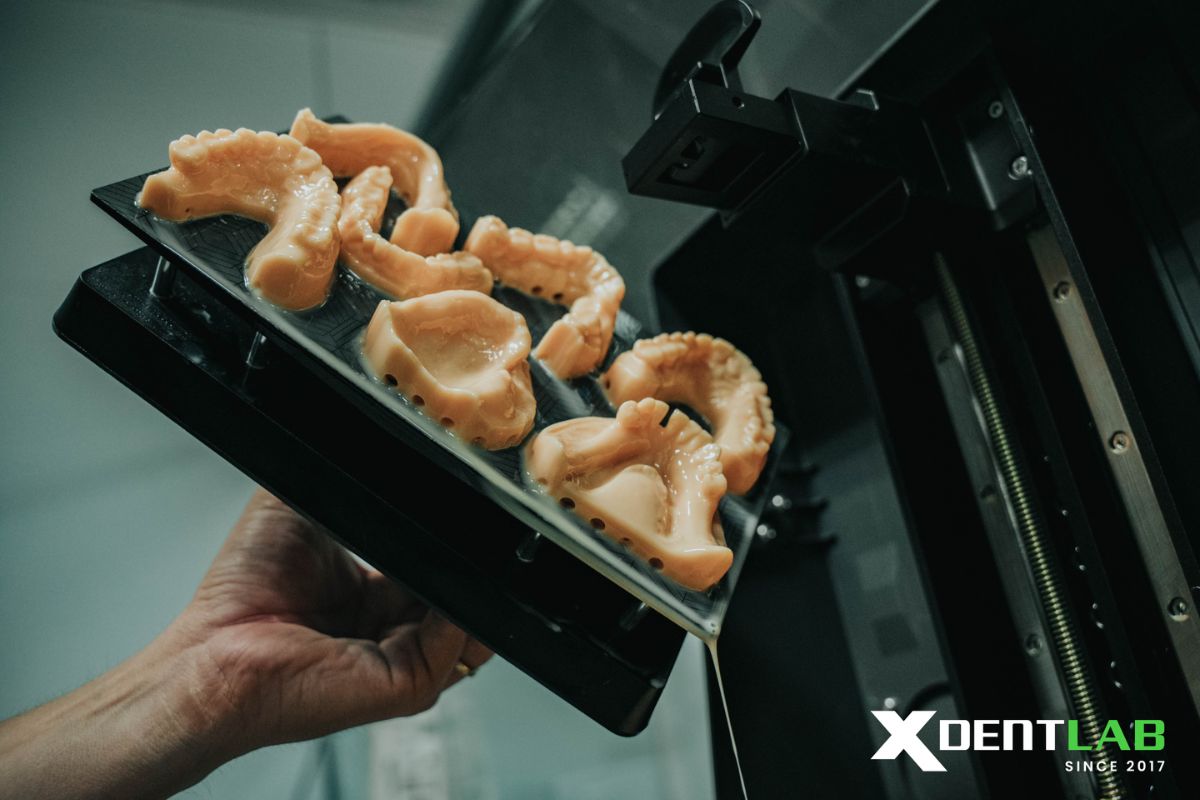
A diagnostic model is used for bite analysis and treatment planning. It does not require the extreme accuracy of a restorative model, but still needs enough detail for a dentist to read the oral structure clearly.
A common recommendation is to print at 50 or 100 microns, depending on the balance needed between speed and detail. Phrozen, a dental printer manufacturer, advises labs to choose between these two levels based on the intended use of the model, since a thinner layer produces higher detail but takes longer to print.
2. Precision Restorative Model
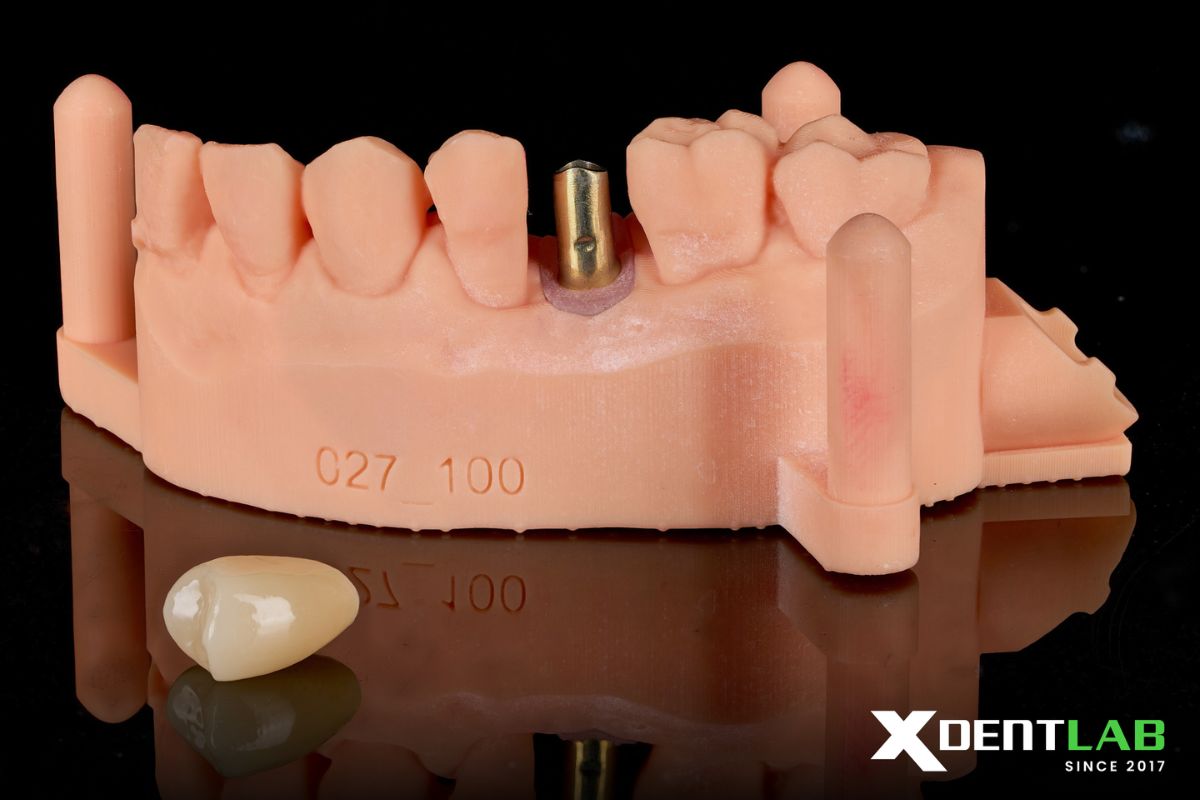
This type of model serves as the base for crowns, bridges, and veneers, where an error of just a few dozen microns can affect the fit of the final restoration.
Precision Restorative Model is recommended printing at 50 microns, or even 25 microns for maximum precision. The company's research shows that printing at 50 or 25 microns produces models that meet clinical accuracy standards, both in marginal accuracy and overall accuracy, within the required range.
3. Night Guard
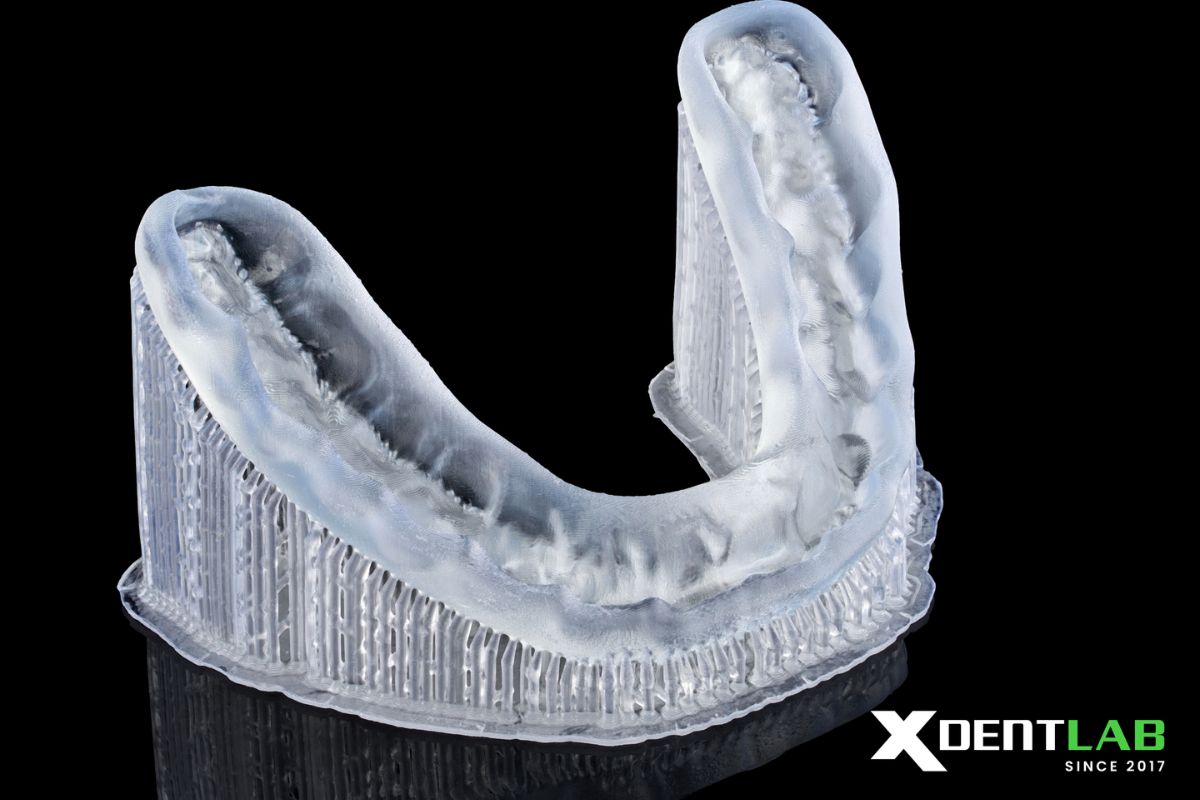
A night guard, also called an occlusal guard, is worn directly in the patient's mouth to protect teeth from the effects of nighttime bruxism. It needs both a tight, accurate fit and good mechanical durability.
Night Guard recommends a thickness of 100 microns for printing night guards, stating that this setting delivers strong accuracy for occlusal guard fabrication.
4. Custom Tray
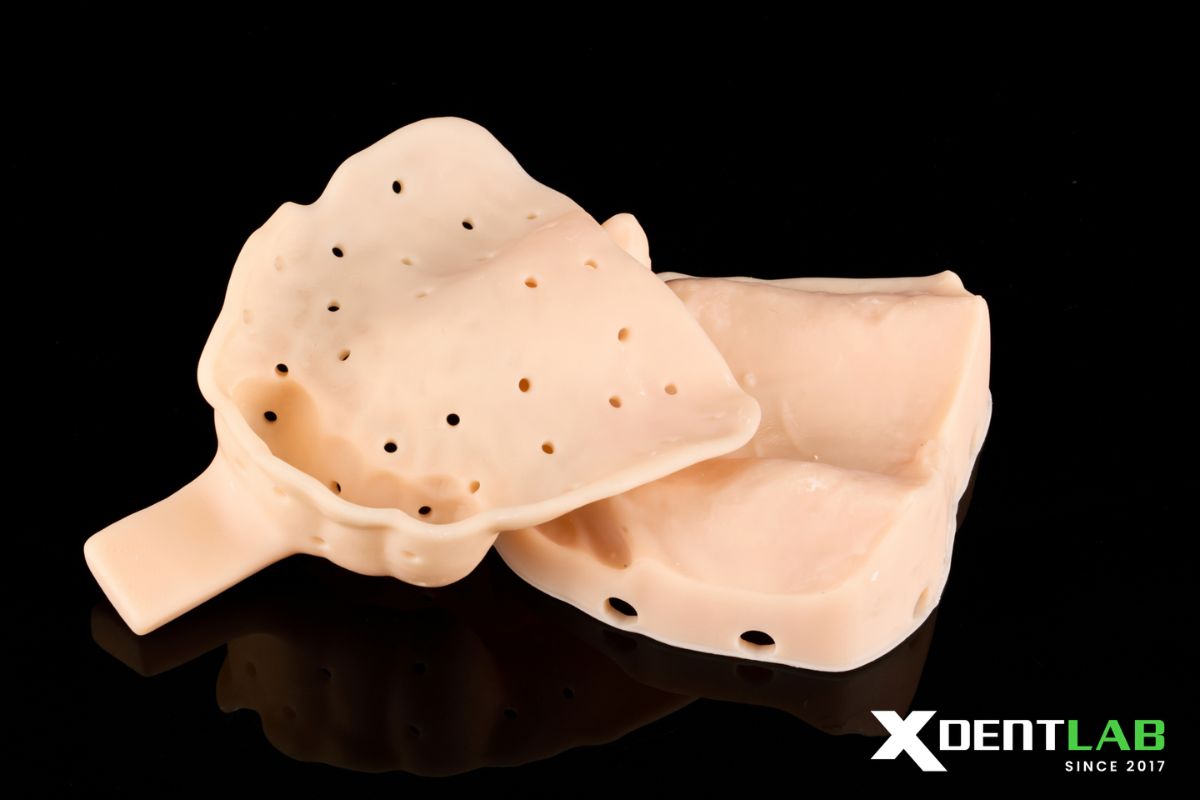
An impression tray does not require high surface detail since it is a supporting tool for taking impressions rather than a final restorative product, so production speed is the priority.
The dedicated resin for impression trays can be printed at 200 microns, which shortens labor time and increases output for batch production.
5. Dentures, RPD Frameworks, and Thermoforming Models
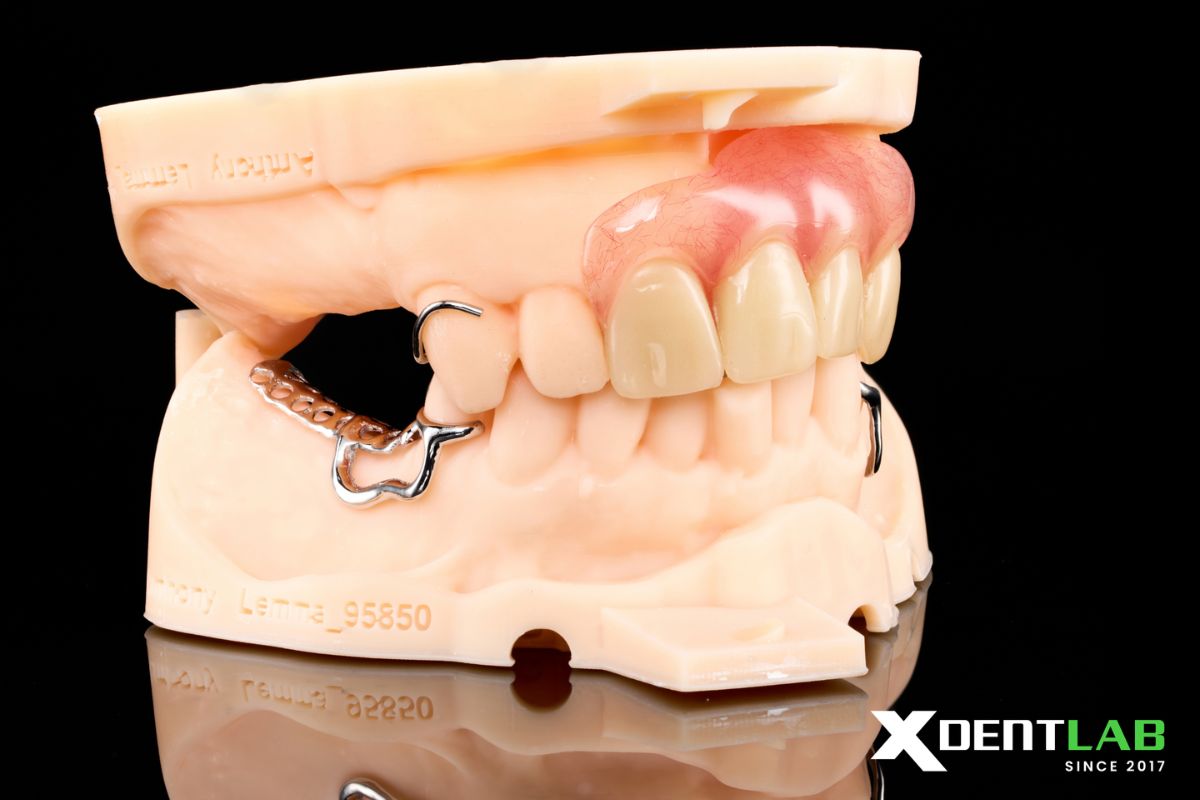
For products such as removable dentures, RPD frameworks, or models used for thermoforming clear aligners or Essix trays, mechanical strength and heat resistance are usually more important than extremely fine surface detail. A thickness of 100 to 200 microns is typically sufficient to meet the technical requirements for this product group, significantly shortening production time compared to printing at 50 microns as required for precision restorative models.
Conclusion
There is no single layer thickness that fits every dental product. The right choice depends on balancing three factors: the accuracy required for the product, the acceptable production time, and the material properties of the resin used. For products requiring a tight fit, 50 to 100 microns is a safe range. For high volume products such as impression trays or thermoforming models, 100 to 200 microns helps optimize output while still meeting clinical quality standards.
Understanding and applying the correct settings not only saves labs time and production cost, but also ensures stable output quality for each specific type of dental product.
References
- Formlabs Dental. (n.d.). Dental Model Resin. Retrieved from https://dental.formlabs.com/blog/creating-dental-model-resin
- Formlabs Dental. (n.d.). Resin Library and 3D Printing Materials. Retrieved from https://dental.formlabs.com/materials
- LuxCreo. (n.d.). The Ultimate Guide to 3D Printer for Dental Technology: Applications, Selection, and Top Brands. Retrieved from https://luxcreo.com/the-ultimate-guide-to-3d-printers-for-dental-technology-applications-selection-and-top-brands
- Phrozen Dental. (n.d.). A Step by Step Guide to 3D Printing Diagnostic Models. Retrieved from https://dental.phrozen3d.com/blogs/step-by-step-guides/diagnostic-models
- Resinify Technology. (n.d.). GuardPro Night Guard Resin. Retrieved from https://shop.resinifytechnology.com/products/guardpro-night-guard-resin
- SprintRay. (n.d.). Guide to 3D Printing NightGuards. Retrieved from https://sprintray.com/learn-3d-printing-night-guard-workflow-cloud-design
Share this post:
Related Posts
Discover how critical laboratory checks reduce remakes and improve restoration quality in dental lab outsourcing for fixed and implant cases.
A technical guide to post curing in digital denture fabrication, helping dental lab technicians understand the parameters for consistent product quality.
Learn about digital dentistry, including scanners, CAD/CAM, 3D printing, AI, workflows, benefits, challenges, and dental lab applications.

