
Discover the screw-retained implant crown fabrication process at a dental laboratory, from case intake and data verification to CAD design, material selection, milling, quality control, and final delivery.
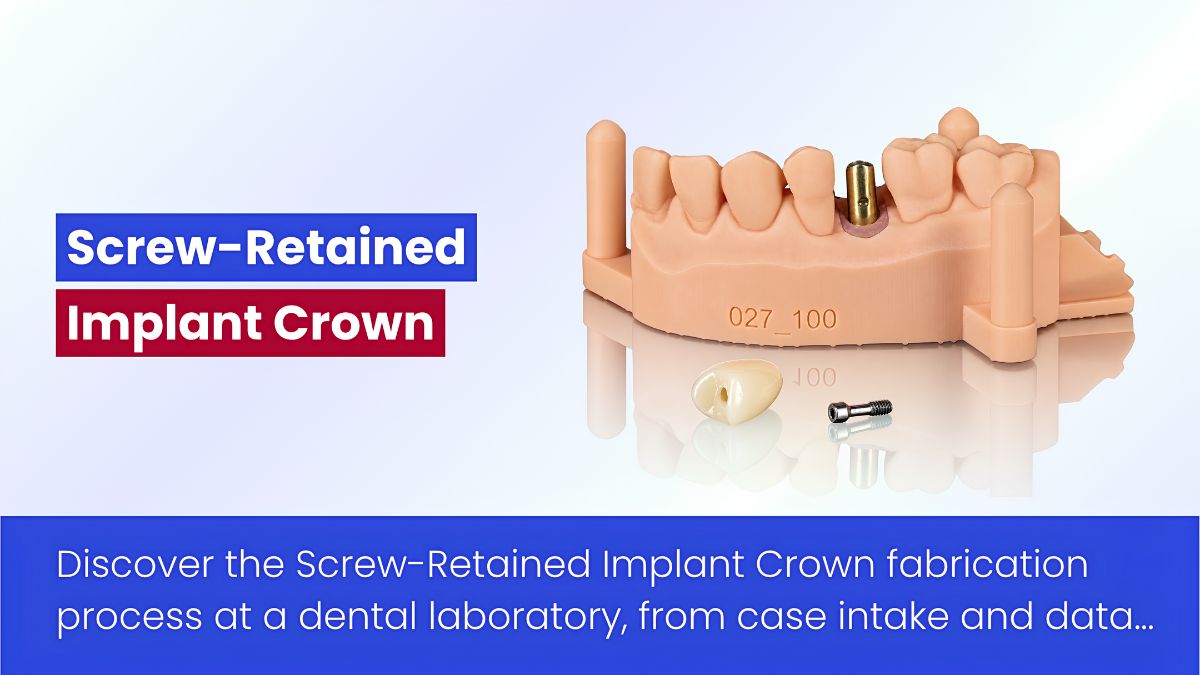
Table of contents [Show]
This article explores the screw-retained implant crown fabrication process at a dental laboratory, including the essential data requirements and key technical considerations at each stage. XDENT LAB is a Vietnam-based dental laboratory specializing in custom implant restorations for dental laboratories in the U.S. market. Drawing on practical laboratory workflows, this article helps dental lab owners and technicians better understand how a well-organized fabrication process is managed, from initial case intake and quality control to final restoration delivery.
What Is a Screw-Retained Implant Crown?
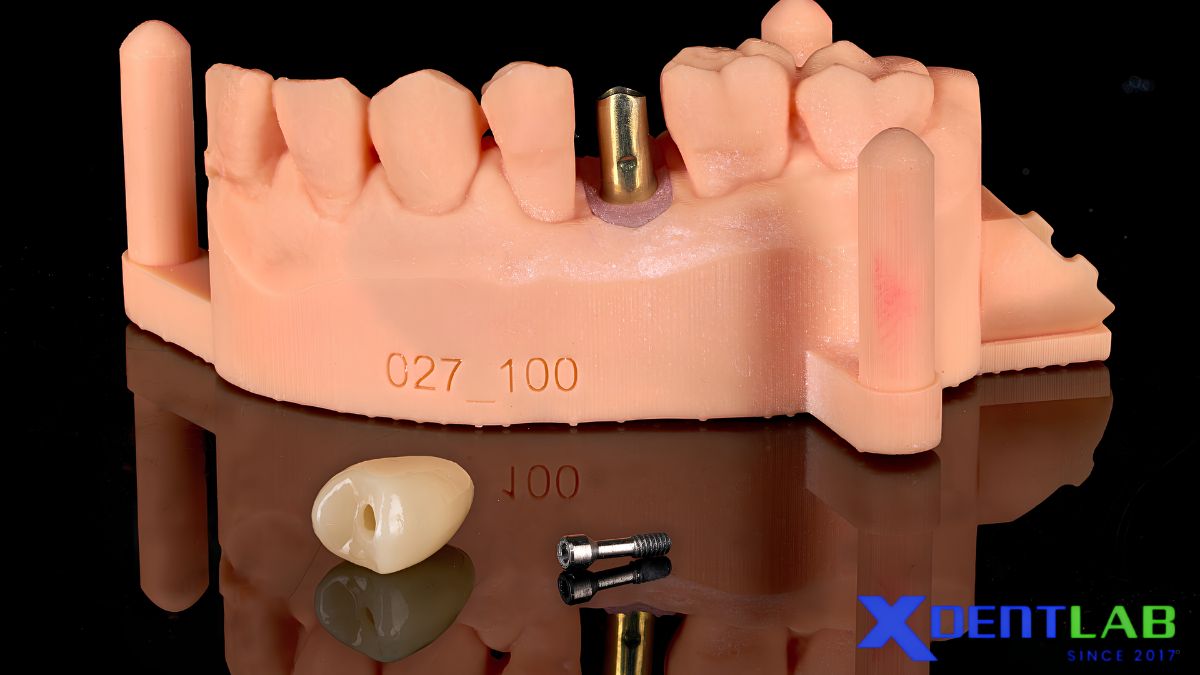
A Screw-Retained Implant Crown is a prosthetic restoration secured to a dental implant using a dedicated prosthetic screw. Depending on the restoration design, the crow n may connect directly to the implant or through an abutment, such as a Titanium Base or Custom Abutment.
One of the defining features of this type of restoration is the presence of a Screw Access Hole on the crown. The dentist uses this access channel to tighten the prosthetic screw and subsequently seals the opening with an appropriate restorative material.
The Screw-Retained Implant Crown Fabrication Process at a Dental Laboratory
The fabrication of a screw-retained implant crown combines clinical information, digital design, and laboratory manufacturing procedures. Each stage requires careful control to ensure implant system compatibility, an accurate fit, and the functional and esthetic requirements of the restoration.
Typically, the laboratory workflow consists of five main stages:
1. Case Intake and Initial Data Verification
Before beginning the design process, the dental laboratory must receive complete case information and verify the accuracy of the data submitted by the dental practice.
The following information and records should be reviewed:
- Implant System: Identify the implant manufacturer, implant product line, connection type, and component dimensions to select the correct digital design library.
- Scan Body: Verify the type of Scan Body used and ensure that the scan data accurately captures the implant's position and orientation.
- Titanium Base or Custom Abutment: Confirm the component type, dimensions, and appropriate height for the intended restoration design.
- Scan Data: Examine the implant site, surrounding gingival tissue, opposing arch, and adjacent teeth.
- Bite Registration: Review the records showing the interarch relationship to support the restoration design process.
- Clinical Instructions: Confirm the restoration type, material, shade, and any case-specific technical requirements provided by the dental practice.
Particular attention should be given to the Scan Body data and implant connection specifications. Using an incorrect digital library or inaccurate scan data may result in a design that is incompatible with the actual components, potentially compromising the restoration's fit.
2. CAD Design of the Implant Crown
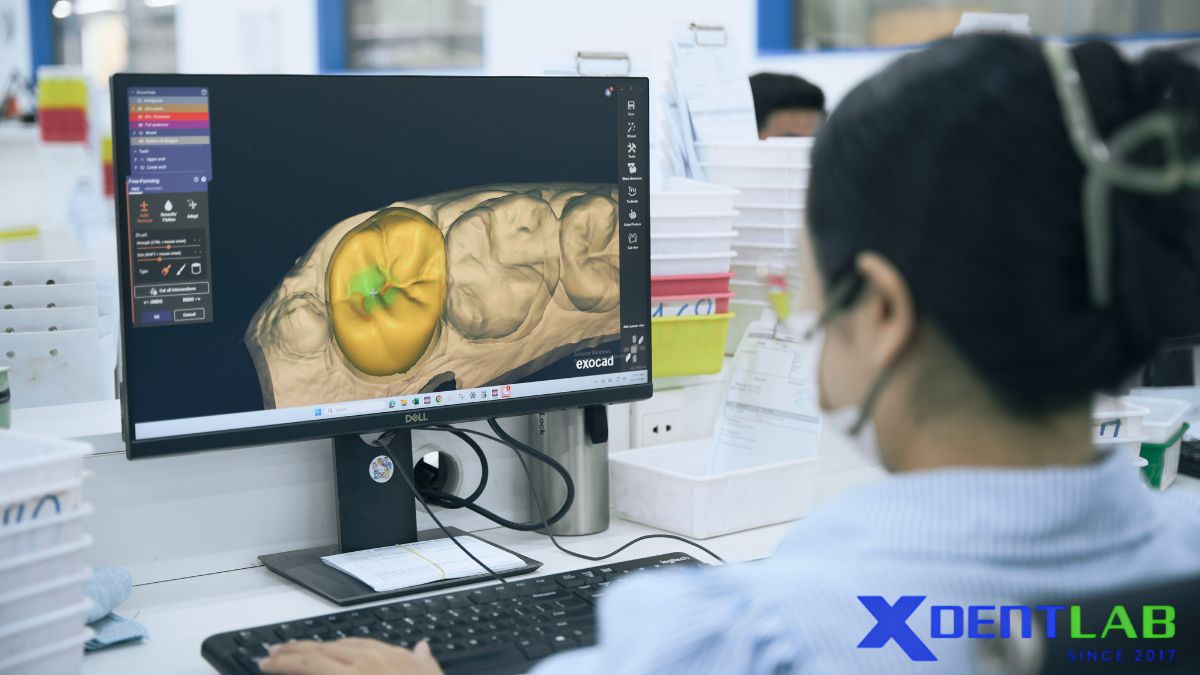
Once the initial data has been verified, the dental technician uses specialized CAD software, such as exocad, to design the implant crown according to the specific requirements of each case.
The design process typically involves the following tasks:
- Implant Library Matching: Select the correct digital library corresponding to the implant system and components being used.
- Emergence Profile Design: Shape the transition from the implant connection area to the crown contour, ensuring compatibility with the available restorative space and surrounding gingival tissue.
- Crown Contouring: Develop the anatomical crown morphology based on adjacent teeth, the opposing dentition, and the required tooth anatomy.
- Screw Access Hole Positioning: Design the Screw Access Channel according to the implant's angulation while minimizing its impact on esthetics, particularly in the anterior region.
- Material Thickness Verification: Ensure that the crown structure has adequate thickness based on the selected material's properties and functional requirements.
In certain cases, an Angulated Screw Channel (ASC) may be used to modify the screw access direction, allowing the access opening to emerge at a more favorable position on the crown surface.
However, its application depends on the implant system, compatible components, and the manufacturer's technical limitations. Once the design is complete, the technician should perform a comprehensive review before proceeding to manufacturing.
3. Material Selection and Implant Crown Fabrication
Material selection depends on the tooth position, esthetic requirements, functional demands, and clinical indications of each restorative case.
Common materials and fabrication options for implant crowns include:
- Multilayer Full Zirconia: Multilayer zirconia featuring gradual color and translucency transitions, making it suitable for restorations requiring a balance between esthetics and strength.
- Layered Zirconia: Zirconia frameworks veneered with porcelain to recreate natural-looking color characteristics and esthetics.
- Cutback Zirconia: A zirconia framework that is partially reduced to create space for porcelain layering, allowing greater customization of shade and anatomical contours.
- E.max®: A lithium disilicate glass-ceramic material known for its high esthetic properties. It is generally considered in cases where its clinical indications and strength requirements are appropriate.
- PFM (Porcelain-Fused-to-Metal): A restoration consisting of a metal framework covered with an outer porcelain layer.
After material selection and CAD design are completed, the digital design file is transferred to the appropriate manufacturing process, such as CAD/CAM milling.
For zirconia restorations, the milled crown typically undergoes a sintering process to achieve its intended mechanical properties and final dimensions. The technician then checks the crown's morphology, material thickness, and fit before proceeding to the finishing stage.
Read more: How A Full Zirconia Crown And Bridge Is Made: A Step-by-Step Guide
4. Bonding and Final Restoration Finishing
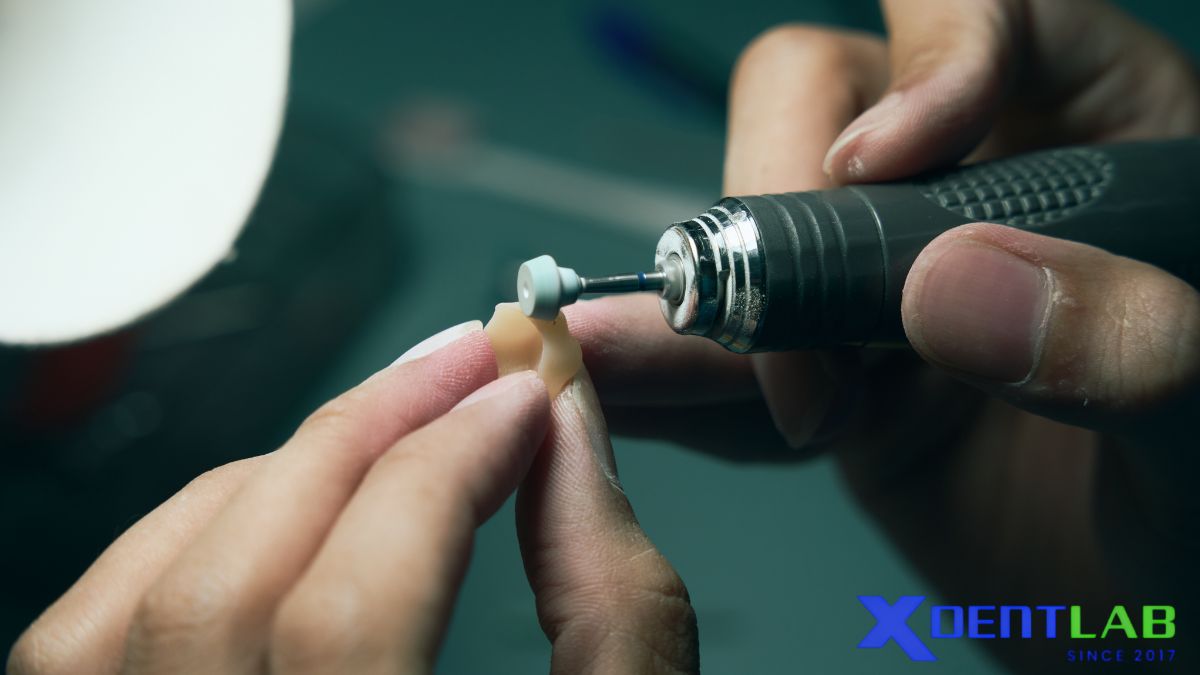
For restorations designed with a separate ceramic crown bonded to a Titanium Base, the bonding procedure is essential for securely joining the two components into a complete restoration.
The process may include the following steps:
- Fit Verification: Place the crown onto the Titanium Base to evaluate the fit and compatibility between the two components.
- Surface Cleaning: Clean the surfaces to be bonded according to the established protocol and the manufacturer's instructions.
- Surface Treatment: Apply the appropriate surface treatment based on the materials and bonding system being used.
- Bonding: Use compatible primer, bonding agent, and resin cement to bond the crown to the Titanium Base.
- Excess Cement Removal: Remove excess cement and inspect the bonding interface.
- Final Finishing: Refine the contours and perform polishing or glazing, depending on the material and the specific requirements of the restoration.
It is important to note that surface treatment protocols and bonding materials may vary depending on the type of zirconia, Titanium Base, and bonding system used. Therefore, technicians should follow the specific protocols recommended for each system rather than applying one universal procedure to all cases.
5. Quality Control and Final Delivery
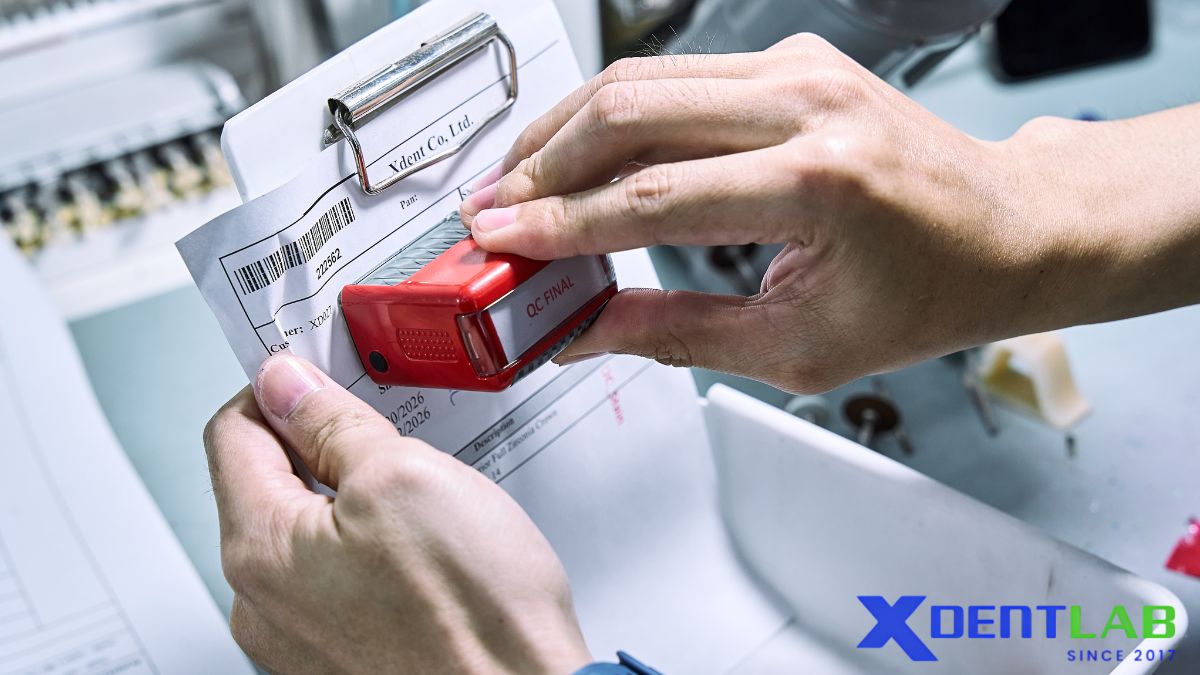
Before delivery, the implant crown must undergo a comprehensive inspection to ensure that it meets the required technical and esthetic standards.
Key quality control criteria include:
- Marginal and Component Fit: Verify the fit between the crown and the Titanium Base or other implant components.
- Proximal Contacts: Ensure appropriate contact relationships with adjacent teeth.
- Occlusion: Evaluate the restoration against the opposing arch data to identify and minimize premature or interfering occlusal contacts.
- Anatomy and Esthetics: Inspect the shade, contours, surface texture, and overall restoration morphology.
- Screw Access Channel: Confirm that the access hole's position and angulation match the design and do not unnecessarily compromise the crown structure.
- Implant Components: Verify that the correct Titanium Base, prosthetic screw, and accompanying components are included according to the case specifications.
Once all inspections are completed, the laboratory proceeds with cleaning, packaging, and delivering the restoration together with the relevant components according to the dental practice's requirements.
During the clinical placement stage, the dentist will verify the restoration's fit, tighten the prosthetic screw to the torque recommended by the manufacturer, and seal the screw access opening with an appropriate restorative material. These are clinical procedures performed at the dental practice, rather than final fabrication steps carried out at the laboratory.
Screw-Retained vs. Cement-Retained Implant Crowns: Key Differences
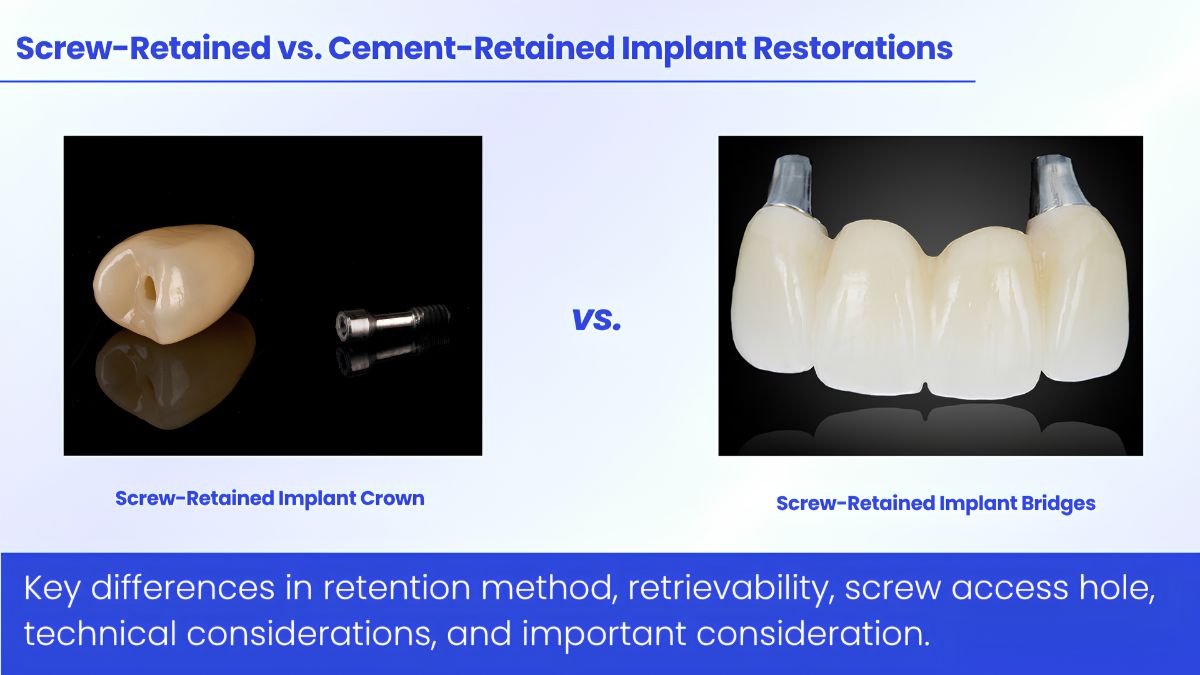
The two commonly used methods for securing implant-supported restorations are screw retention and cement retention. Each approach has its own advantages and limitations.
| Criteria | Screw-Retained Implant Crown | Cement-Retained Implant Crown |
| Retention Method | Secured with a prosthetic screw through a small access hole in the crown. | Cemented onto an abutment using dental cement. |
| Retrievability | Generally easier to retrieve for maintenance, as the dentist can access the screw to remove the crown. | Typically more difficult to retrieve; removal may sometimes require sectioning or destroying the crown, depending on the situation. |
| Screw Access Hole | Present and must be sealed after screw tightening. | No screw access hole is present on the crown. |
| Technical Considerations | Requires careful control of the screw access hole's position and angulation. | Requires careful management of restorative space and cement volume. |
| Important Consideration | The screw access hole's position may affect the esthetics and structural design of the restoration. | Residual cement may adversely affect the peri-implant tissues if not properly removed. |
The choice between these two approaches depends on implant positioning, clinical conditions, esthetic requirements, and the dentist's restorative treatment plan. Neither method is universally suitable for every case.
Read more: Implant Restorations: Screw-Retained vs Cement-Retained
XDENT LAB: Supporting Dental Practices and Dental Laboratories with Implant Restorations
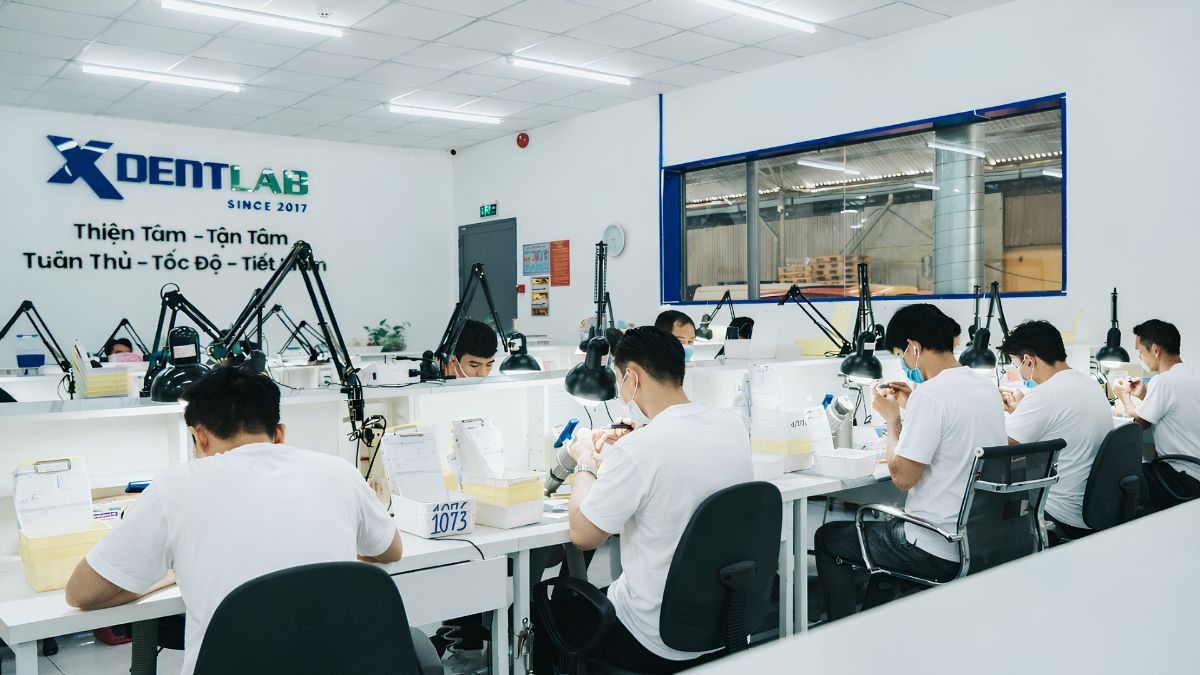
Implant restoration fabrication requires close collaboration between dentists and dental technicians, particularly during CAD design, component selection, and verification of connection accuracy.
For dental laboratories and dental practices that choose outsourcing, a reliable laboratory partner must do more than meet fabrication requirements. It should also have a thorough understanding of the technical specifications of each restorative case.
At XDENT LAB, we provide implant restoration solutions for our dental partners, including:
- Screw-Retained Implant Crown & Bridge: Custom fabrication solutions for screw-retained implant crowns and bridges.
- Custom Abutment: Patient-specific abutments designed according to the requirements of each restorative case.
With material options including Zirconia, PFM, E.max®, and Full Metal, subject to appropriate clinical indications, XDENT LAB aims to accommodate a wide range of restorative fabrication needs for dental practices and dental laboratories.
During case intake, we are ready to work closely with our partners to review implant systems, connection types, abutment options, material selections, and screw access channel requirements before fabrication begins.
If you are a dental lab owner looking for a dental laboratory outsourcing partner in Vietnam for implant restoration cases, explore XDENT LAB's Screw-Retained Implant Crown & Bridge and Custom Abutment solutions.
Contact us to discuss your fabrication needs and discover the right solutions for your dental laboratory or practice.
Conclusion
A high-quality screw-retained implant crown is the result of several closely interconnected stages: case intake and data verification, CAD design, material selection, manufacturing, bonding, and quality control before final delivery.
Each stage involves specific technical details that must be carefully verified, as an error during the initial stages can affect the entire fabrication process.
Therefore, establishing a clear case intake workflow, verifying implant components, and maintaining accurate case records are essential foundations for dental laboratories seeking to deliver consistent restoration quality.
References
International Team for Implantology (ITI). Influence of Restorative Procedures on Esthetic Outcomes.
Screw-Retained Crown Restorations of Single Implants: A Step-by-Step Clinical Guide.
About XDENT LAB:
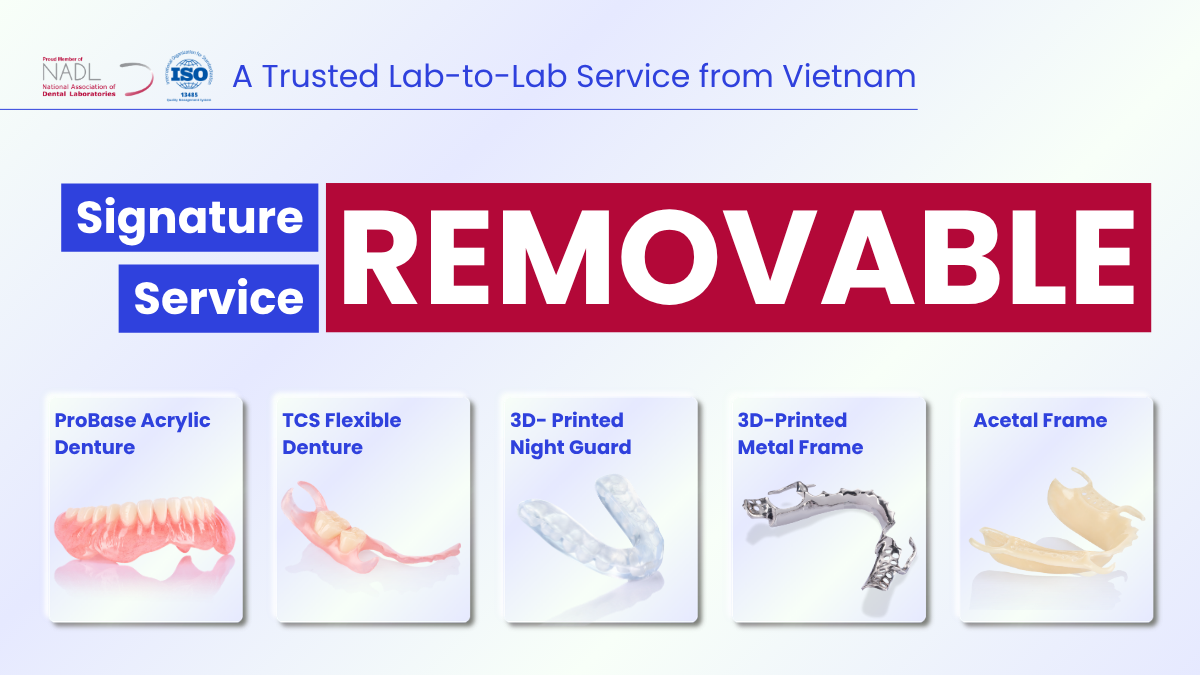
We are experts in Lab-to-Lab Full Service from Vietnam, with the signature services of Removable, meet U.S. market standards, FDA-registered, ISO 13485-certified. Founded in 2017, from local root to global reach, we scale with 2 Factories with over 100+ employees.
Our Commitments Built on “Trusted. Commitment. Quality”
- Commit to Large-Scale Manufacturing, high volume, remake rate < 1%.
- Commit to 5-Year Warranty
- Commit to Competitive Price
XDENT LAB | A Trusted Lab-to-Lab Service from Vietnam
Share this post:
Related Posts
Explore maxillofacial prosthodontics, from obturators and facial prostheses to materials, digital design and dental lab workflows.
A guide for dental practices to implant-supported overdenture planning, attachment selection, digital workflows and long-term care.
Explore full-arch fixed prosthesis planning and lab workflows, from implant distribution and framework fit to materials, hygiene and maintenance.

